
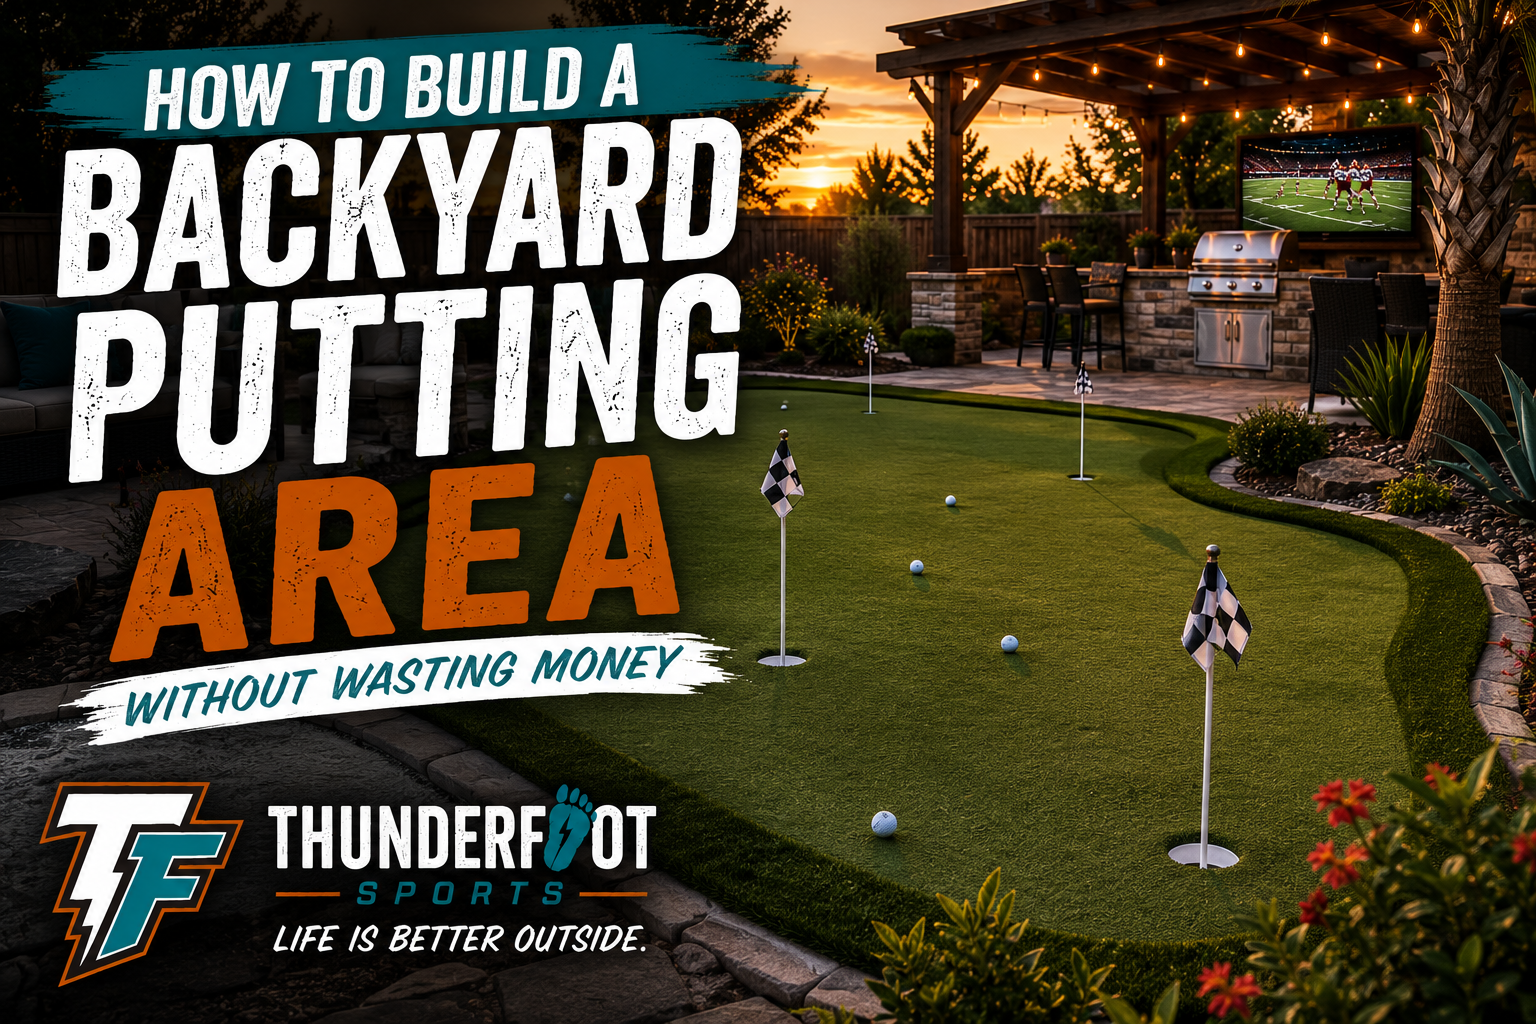
A backyard putting area sounds like one of those projects that can only improve your life.
You step outside after dinner, roll a few putts, settle the household championship and finally stop blaming every missed six-footer on the practice green at the course.
Then the estimates arrive.
Suddenly the simple putting area has multiple turf products, excavation charges, drainage decisions, base materials, fringe options, cup locations, retaining edges, landscaping upgrades and somebody suggesting a bunker beside the pool.
That is how a useful practice space becomes an expensive yard ornament.
The smartest backyard green is not the largest or most elaborate. It is the one that fits the property, drains correctly, rolls consistently and gives you a reason to use it several times a week.
Here is how to build that version—and avoid paying for features that look better in photographs than they perform in real life.
Decide What You Actually Want to Practice
Before choosing turf or drawing an interesting shape, decide what the putting area needs to improve.
Most recreational golfers benefit from four things:
- A straight putt between 4 and 8 feet
- A longer putt for speed control
- One gentle breaking putt in each direction
- A repeatable starting point for drills
That does not require a miniature replica of Augusta National.
If the main goal is making more short putts, a compact surface with one reliable straight lane may be more useful than a large green covered in severe slopes. If the goal is distance control, you need enough uninterrupted length to roll 15- to 25-foot putts. If the family wants a casual backyard game, two or three cups and a forgiving layout may matter more than perfect tournament speed.
Start with the practice goal. Let the shape follow it.
That is the same principle behind our guide to building a backyard setup that actually gets used: design around real habits, not the version of your family that exists only during home-improvement planning.
Compare the Three Realistic Backyard Putting Options
There are three practical starting points. Each can work, but they solve different problems.
| Option | Upfront commitment | Maintenance | Best for |
|---|---|---|---|
| Portable putting mat | Low | Low | Renters, small patios and golfers testing the idea |
| Permanent synthetic putting area | Medium to high | Low to moderate | Most homeowners who want an integrated backyard feature |
| Natural-grass putting green | High | Very high | Golfers prepared for specialized construction and ongoing turf care |

Portable mat: the lowest-risk first step
A quality outdoor mat or narrow roll can provide a straight practice lane without excavation. It is not as visually impressive as a built-in green, but it can answer the most important question before you spend more money:
Will anyone actually use this?
Put the mat where the permanent area might go. Use it for a month. Track whether the location feels convenient, whether afternoon sun makes it miserable and whether balls regularly disappear beneath patio furniture.
If the mat becomes part of the weekly routine, a permanent project makes more sense. If it spends six weeks rolled against the fence, you just saved a considerable amount of money.
Synthetic putting area: the practical permanent choice
For most homeowners, synthetic turf offers the best balance of appearance, playability and manageable maintenance.
The important word is system. The visible turf is only the top layer. The performance depends on excavation, drainage, compacted base, contour shaping, cup installation, seams and edges.
A cheap surface installed over a strong, well-shaped base can sometimes perform better than premium turf placed over soft or uneven soil. Do not spend the entire budget on the material everyone can see.
Natural grass: the authentic but demanding option
A natural putting green can be excellent, but it is not simply a section of lawn cut shorter.
The USGA’s guide to making a backyard putting green a reality explains that a successful natural green typically requires specialized rootzone material, drainage, dedicated irrigation and an intensive maintenance program. Climate, shade, grass selection, water delivery and mowing equipment all matter.
If the goal is to save money and reduce upkeep, natural grass is rarely the default answer. Choose it because maintaining turf is part of the hobby—not because the seed or sod initially looks cheaper.
Choose the Right Size Before the Yard Chooses for You
Backyard putting areas are often sold through square footage, but practice value is not determined by total area alone.
A long, narrow practice lane may help your putting more than a larger round surface. A compact green connected to the patio may get used more than a beautiful green placed in the farthest corner of the yard.
Before finalizing the footprint, mark it with landscape paint, rope or garden hoses. Place temporary cups or targets. Stand where the golfer will address the ball and take a normal stroke.
Check whether the layout provides:
- At least one genuinely straight practice line
- Enough length for speed-control drills
- Room to stand without stepping into a flowerbed
- A safe backswing area for any planned chipping
- A clear walking route around—not across—the surface
- Access for installation, cleaning and future repairs
Do not make the green larger simply because open lawn is available. Every additional square foot adds excavation, base, turf, edging and maintenance.
Pick a Location That Solves More Problems Than It Creates
The best location is not automatically the flattest or most visible part of the yard.
Evaluate:
- How water moves during heavy rain
- Whether roof downspouts discharge nearby
- The direction of existing grade
- Sun and shade throughout the day
- Tree roots and falling leaves
- Sprinkler coverage
- Access to gates and equipment
- Distance from windows, pools and outdoor kitchens
- Underground utilities and private irrigation lines
A putting area should not block the route used for lawn equipment, trash cans or pool service. It should not trap water against the foundation. It should not sit beneath the tree that drops leaves, seed pods and branches eleven months of the year.
If the project requires excavation, Texas homeowners should contact Texas 811 before digging. Texas 811 states that homeowners or their contractors must make the request at least two business days before excavation, excluding weekends and holidays. Public utility markings may not identify every privately owned irrigation, lighting or gas line, so those systems also need to be located.
Check local drainage, HOA and permit requirements before changing grade or directing runoff.
Drainage and Base Work Are Where the Project Succeeds
The turf gets the photographs. The base determines whether the green still rolls properly after several Texas storms and a full summer of use.
The USGA’s backyard-green guidance describes synthetic installations built with gravel and compacted aggregate, then carefully shaped before the surface is installed. Exact materials and depths vary with soil, climate, manufacturer requirements and site conditions, so a universal recipe copied from a video is not a substitute for a site-specific plan.
What does remain consistent:
- Remove unstable organic material rather than covering it.
- Create a firm, uniformly compacted foundation.
- Shape drainage away from structures and low pockets.
- Compact in controlled layers instead of dumping all material at once.
- Protect edges from movement and erosion.
- Test the contours before covering them with turf.
Heavy clay soils, common in many Texas yards, make water planning especially important. If the excavation becomes a bowl with nowhere for water to go, the putting area becomes a shallow bathtub.
Ask every contractor to explain where the water will go—not merely whether the turf is “permeable.” Water passing through the surface still needs a path away from the base.
Spend Money on the Parts That Improve Every Putt
If the budget is limited, protect these items first.
1. Site preparation and drainage
Fixing drainage after the turf is installed means pulling the surface back and rebuilding work you already paid for.
2. A compacted, accurately shaped base
Soft spots and settlement create unintended breaks. A consistent base protects the roll and the appearance.
3. Turf selected for putting—not general landscaping
Putting turf should be evaluated for ball roll, speed, grain, seam visibility and how it works with the planned infill and base. Request a meaningful sample and roll putts across it.
4. Strong edges and clean transitions
The perimeter keeps the base contained and makes the surface feel integrated with lawn, patio or landscaping. Weak edges spread, lift and invite weeds.
5. Correct cup installation
The cups should sit securely and finish flush with the playing surface. For a regulation reference, the USGA notes that a golf hole is 4.25 inches in diameter and at least 4 inches deep. Backyard practice cups should be installed according to the selected system and local site conditions.
Save Money on Features That Do Not Improve Practice
Several popular upgrades can wait.
Skip severe contours
A dramatic ridge may look interesting, but it reduces the number of useful starting positions. Gentle, readable movement provides more practice variety.
Limit the number of cups
Two or three thoughtful cup positions are usually more useful than holes scattered across every available section. Cups occupy prime putting space and can interrupt straight drills.
Delay decorative landscaping
Boulders, lighting, ornamental grasses and retaining walls can be added after the green proves it will be used. Build the practice surface first and finish the visual extras in a later phase.
Avoid a bunker unless you truly want bunker maintenance
Sand migrates, washes out, contaminates turf and finds its way into the house. A small chipping mat or fringe target may deliver more practice with less work.
Do not pay for speed you cannot control
A very fast surface magnifies installation imperfections and may not match the conditions at the courses you normally play. Consistency matters more than bragging about speed.
Build the Project in the Right Order
A disciplined sequence prevents expensive rework.
Step 1: Set the practice goals
Choose the putts, drills and family uses the space must support.
Step 2: Mark and test the footprint
Use rope, paint or hoses. Put from the proposed location before digging.
Step 3: Locate utilities and confirm drainage
Contact 811, identify private systems and determine where water will leave the area.
Step 4: Remove unsuitable material
Excavate according to the engineered or manufacturer-approved plan. Protect nearby roots, irrigation and hardscape.
Step 5: Install and compact the base
Build the foundation in controlled layers. Shape only gentle, intentional breaks.
Step 6: Install cups, edges and drainage components
Set elevations carefully. Confirm cup rims and transitions before the turf covers the work.
Step 7: Install the putting surface
Align the turf consistently, minimize seams and follow the system requirements for stretching, fastening, infill and brushing.
Step 8: Roll test putts before final acceptance
Test short straight putts, long rolls and both sides of every contour. Look for wobble, sudden speed changes, low spots, loose edges and visible seams.
Step 9: Add fringe and landscaping last
Finish the surroundings after the playing surface works.
When comparing contractor proposals, ask each company to price those stages separately. A one-line total makes it difficult to see whether one bidder included real base preparation while another mostly priced turf and optimism.
Design the Green for Practice, Not Decoration
A useful backyard setup should make repetition easy.
Consider adding:
- One straight start line at 3, 5 and 8 feet
- Small removable markers for distance control
- A gate-drill station for starting direction
- One long lane without a cup interrupting it
- A gentle left-to-right and right-to-left option
- A small fringe area for bump-and-run practice
- Space for two people to putt without standing on each other
Permanent painted lines are not necessary. Small embedded markers or removable training aids keep the green visually clean while providing repeatable drills.
Our Thunderfoot Guide to Gulf Coast Golf emphasizes playing conditions and strategy. A backyard green should support the same idea. Practice start line, pace and predictable reads instead of creating random carnival breaks.
The Most Expensive Backyard Putting-Green Mistakes
Buying turf before planning the site
The surface should match the base, drainage, infill, seam layout and intended speed. Starting with a discounted roll can force the rest of the project around the wrong material.
Making every putt break
Without a straight reference line, it becomes difficult to tell whether the stroke or the surface caused a miss.
Ignoring runoff from roofs and patios
A downspout can deliver far more water than the green was designed to handle. Redirect water before it reaches the base.
Creating too many seams
Awkward shapes and material-saving cuts can add seams where balls repeatedly cross. Simplifying the footprint may improve performance and reduce labor.
Choosing the far corner of the yard
Convenience drives use. If practicing requires unlocking a gate, moving furniture and crossing wet grass, the green will slowly become landscaping.
Forgetting the golfer’s feet
A putt may fit on the surface while the stance does not. Test the full body position near edges and cups.
Building around one exciting weekend
A backyard improvement should fit the normal week. Review our list of backyard upgrades that earn their space and prioritize the features your household will use consistently.
Know When to Hire a Professional
A portable mat is a straightforward DIY project. A small synthetic area may be manageable for an experienced homeowner with excavation, grading and compaction skills. A larger contoured green or any project near drainage systems, retaining walls, pools, utilities or foundations deserves professional evaluation.
Ask potential installers:
- Who designs and approves the drainage plan?
- What base materials and compaction process are included?
- How will existing irrigation and utilities be protected?
- Where will excavated soil go?
- How many seams will cross the putting surface?
- Can you putt on a completed local installation?
- What maintenance does the warranty require?
- What is excluded from the quoted price?
- Who is responsible for permits, HOA review and utility location?
References matter, but a live test matters more. A beautiful photograph cannot show whether a ten-foot putt hops across a seam.
Maintain the Green Without Turning It Into a Second Job
Synthetic does not mean maintenance-free.
A practical routine includes:
- Removing leaves, seed pods and debris
- Blowing or sweeping before debris becomes embedded
- Brushing high-traffic or flattened areas as directed
- Checking seams and edges
- Clearing drains and low areas
- Treating weeds according to the turf manufacturer’s guidance
- Rinsing dust, pollen or pet residue when appropriate
- Avoiding heavy furniture, hot equipment and vehicle traffic
Keep grills, fire pits and smoking materials away from synthetic turf. Protect the putting surface during nearby landscaping or construction.
Natural grass requires far more attention: specialized mowing, irrigation, fertility, pest management, aeration and surface management. If that work sounds like part of the fun, natural turf may be rewarding. If it sounds like another property-maintenance bill, believe yourself before building it.
Use the Putting Area Enough to Justify It
The green only saves money if it becomes a practice tool instead of decorative turf.
Try a simple 15-minute routine:
- Make ten straight putts from 4 feet.
- Roll five balls to a long-distance target without trying to hole them.
- Hit five putts that break left and five that break right.
- Finish by making three short putts in a row.
Track the results. Change the starting points. Invite the family to create a weekly putting game.
The strategic habits from our links-golf lessons for weekend players apply here too: choose a target, understand the miss and practice decisions you can repeat.
The Thunderfoot Verdict
For most households, the money-smart progression is simple:
- Test the location with a portable mat.
- Build a modest synthetic green if the family uses it.
- Spend first on drainage, base, edges and a consistent surface.
- Add landscaping and extra features later.
The goal is not to impress everyone who sees the backyard once.
The goal is to create a place you use on Tuesday evening, Saturday morning and the night before a round when the putter suddenly feels unfamiliar.
Keep the footprint practical. Keep the contours useful. Build the hidden layers correctly.
Then roll a few putts, settle the household championship and enjoy a backyard upgrade that actually earns its space.
Because life is better outside—even when the next tee time is still a few days away.