Nothing ruins a camping trip faster than struggling with a tent while daylight disappears. Whether you’re heading to a state park, a lakeside campground, or deep into the backcountry, knowing how to properly set up your tent can make the difference between a relaxing adventure and a frustrating evening.
Step 1: Choose the Right Campsite
Before unpacking your tent, take a few minutes to select the best location.
Look for:
- Flat, level ground
- Well-drained areas that won’t collect water if it rains
- Natural wind protection from trees or terrain
- A spot free of rocks, roots, and sharp debris
Avoid setting up in low areas where water can pool overnight.
Step 2: Lay Down a Ground Tarp
Many campers use a footprint or tarp beneath their tent.
Benefits include:
- Protecting the tent floor from punctures
- Adding a moisture barrier
- Extending the life of your tent
Make sure the tarp does not extend beyond the edges of the tent, as exposed tarp can collect rainwater and funnel it underneath.
Step 3: Unpack and Organize Components
Before assembling anything, identify:
- Tent body
- Tent poles
- Rainfly
- Stakes
- Guy lines
Laying everything out first helps avoid confusion later.
Step 4: Assemble the Tent Poles
Most modern tents use shock-corded poles.
Simply:
- Connect each pole section fully.
- Allow the elastic cord to pull them together naturally.
- Avoid snapping them together forcefully, which can damage the poles over time.
Double-check that every connection is fully seated.
Step 5: Raise the Tent
Spread the tent body flat on the ground.
Depending on your tent design:
- Insert poles through sleeves, or
- Clip the tent body to the poles
Once connected, carefully raise the structure until it stands upright.
This is usually the point where your campsite starts looking like home.
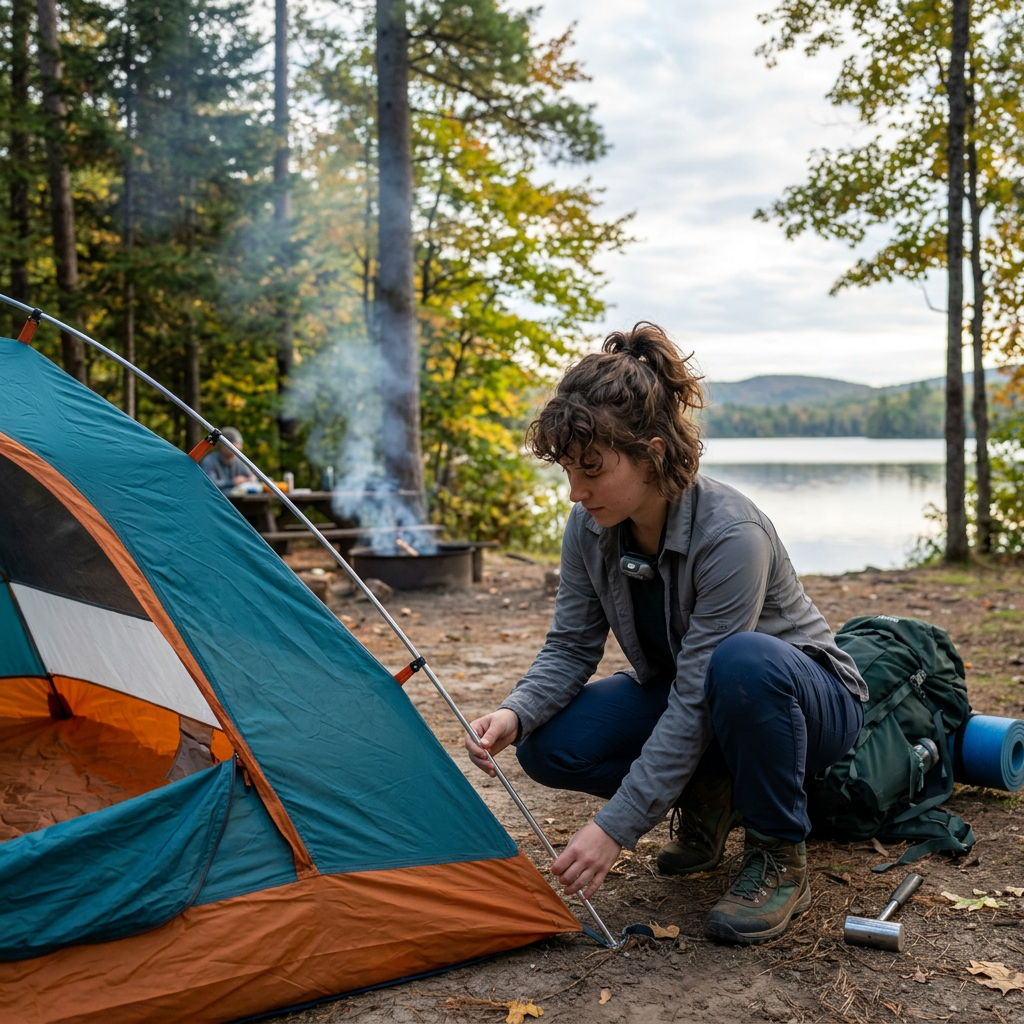
Step 6: Stake the Tent Corners
Secure the four corners first.
For maximum holding power:
- Insert stakes at a 45-degree angle away from the tent.
- Pull the floor taut but not overly tight.
- Use a mallet or rock if the ground is hard.
Proper staking helps the tent maintain its shape and stability.
Step 7: Attach the Rainfly
Even if the weather forecast looks perfect, install the rainfly.
A rainfly:
- Protects against unexpected rain
- Reduces morning condensation
- Adds wind resistance
- Provides extra insulation on cooler nights
Secure all buckles, hooks, and Velcro attachments.
Step 8: Tighten Guy Lines
Guy lines are often overlooked by beginners but provide critical support.
Attach and tension the lines:
- During windy conditions
- Before storms
- Anytime the tent feels loose
A properly guyed-out tent can withstand significantly stronger winds than one relying on stakes alone.
Step 9: Organize the Interior
Before unpacking your gear, take a few minutes to set up your living space.
Good practices include:
- Sleeping bags toward the back
- Gear near the door
- Shoes outside or in the vestibule
- Flashlights easily accessible
Organization prevents late-night searches for essential items.
Common Tent Setup Mistakes
Avoid these beginner errors:
- Setting up in a low spot where water collects
- Forgetting the rainfly
- Leaving guy lines loose
- Using partially assembled poles
- Pitching the tent too close to a campfire
- Ignoring weather and wind direction
A few extra minutes during setup can save hours of frustration later.
Final Thoughts
Setting up a tent isn’t complicated, but doing it correctly makes camping more comfortable, safer, and more enjoyable. Practice assembling your tent at home before your trip so you’ll know exactly how everything fits together. The more familiar you become with your gear, the faster you’ll be able to set up camp and start enjoying the outdoors.
After all, camping should be about relaxing around the campfire—not wrestling with tent poles in the dark.